Building a Custom Weekly Class Calendar
Creating a NEW Weekly Class Calendar
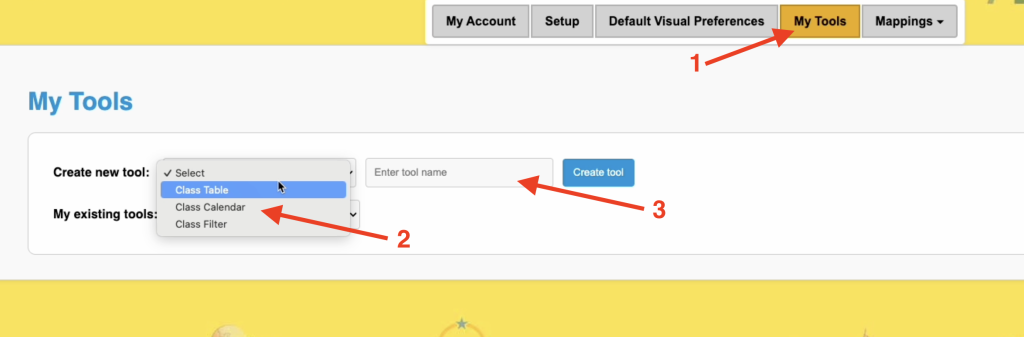
To Create a New Class Calendar Navigate to My Tools. Then select Class Calendar from the Drop Down. Then Name it and click “Create Tool
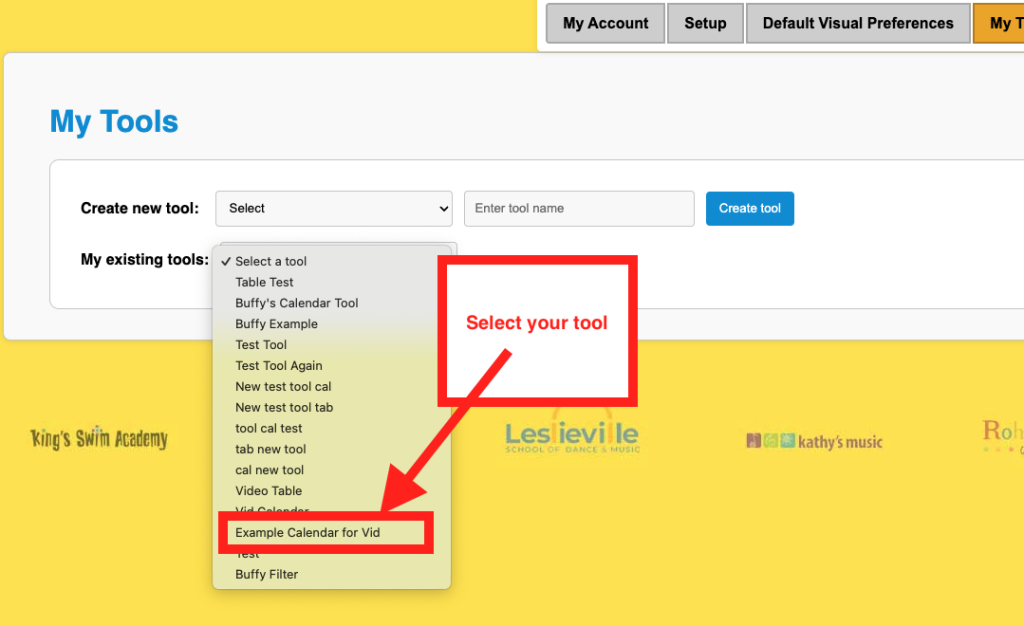
Access your saved Weekly Class Calendar
You can hop right back into any tool you have created previously by selecting that Tool from the drop down labeled “my existing tools”.
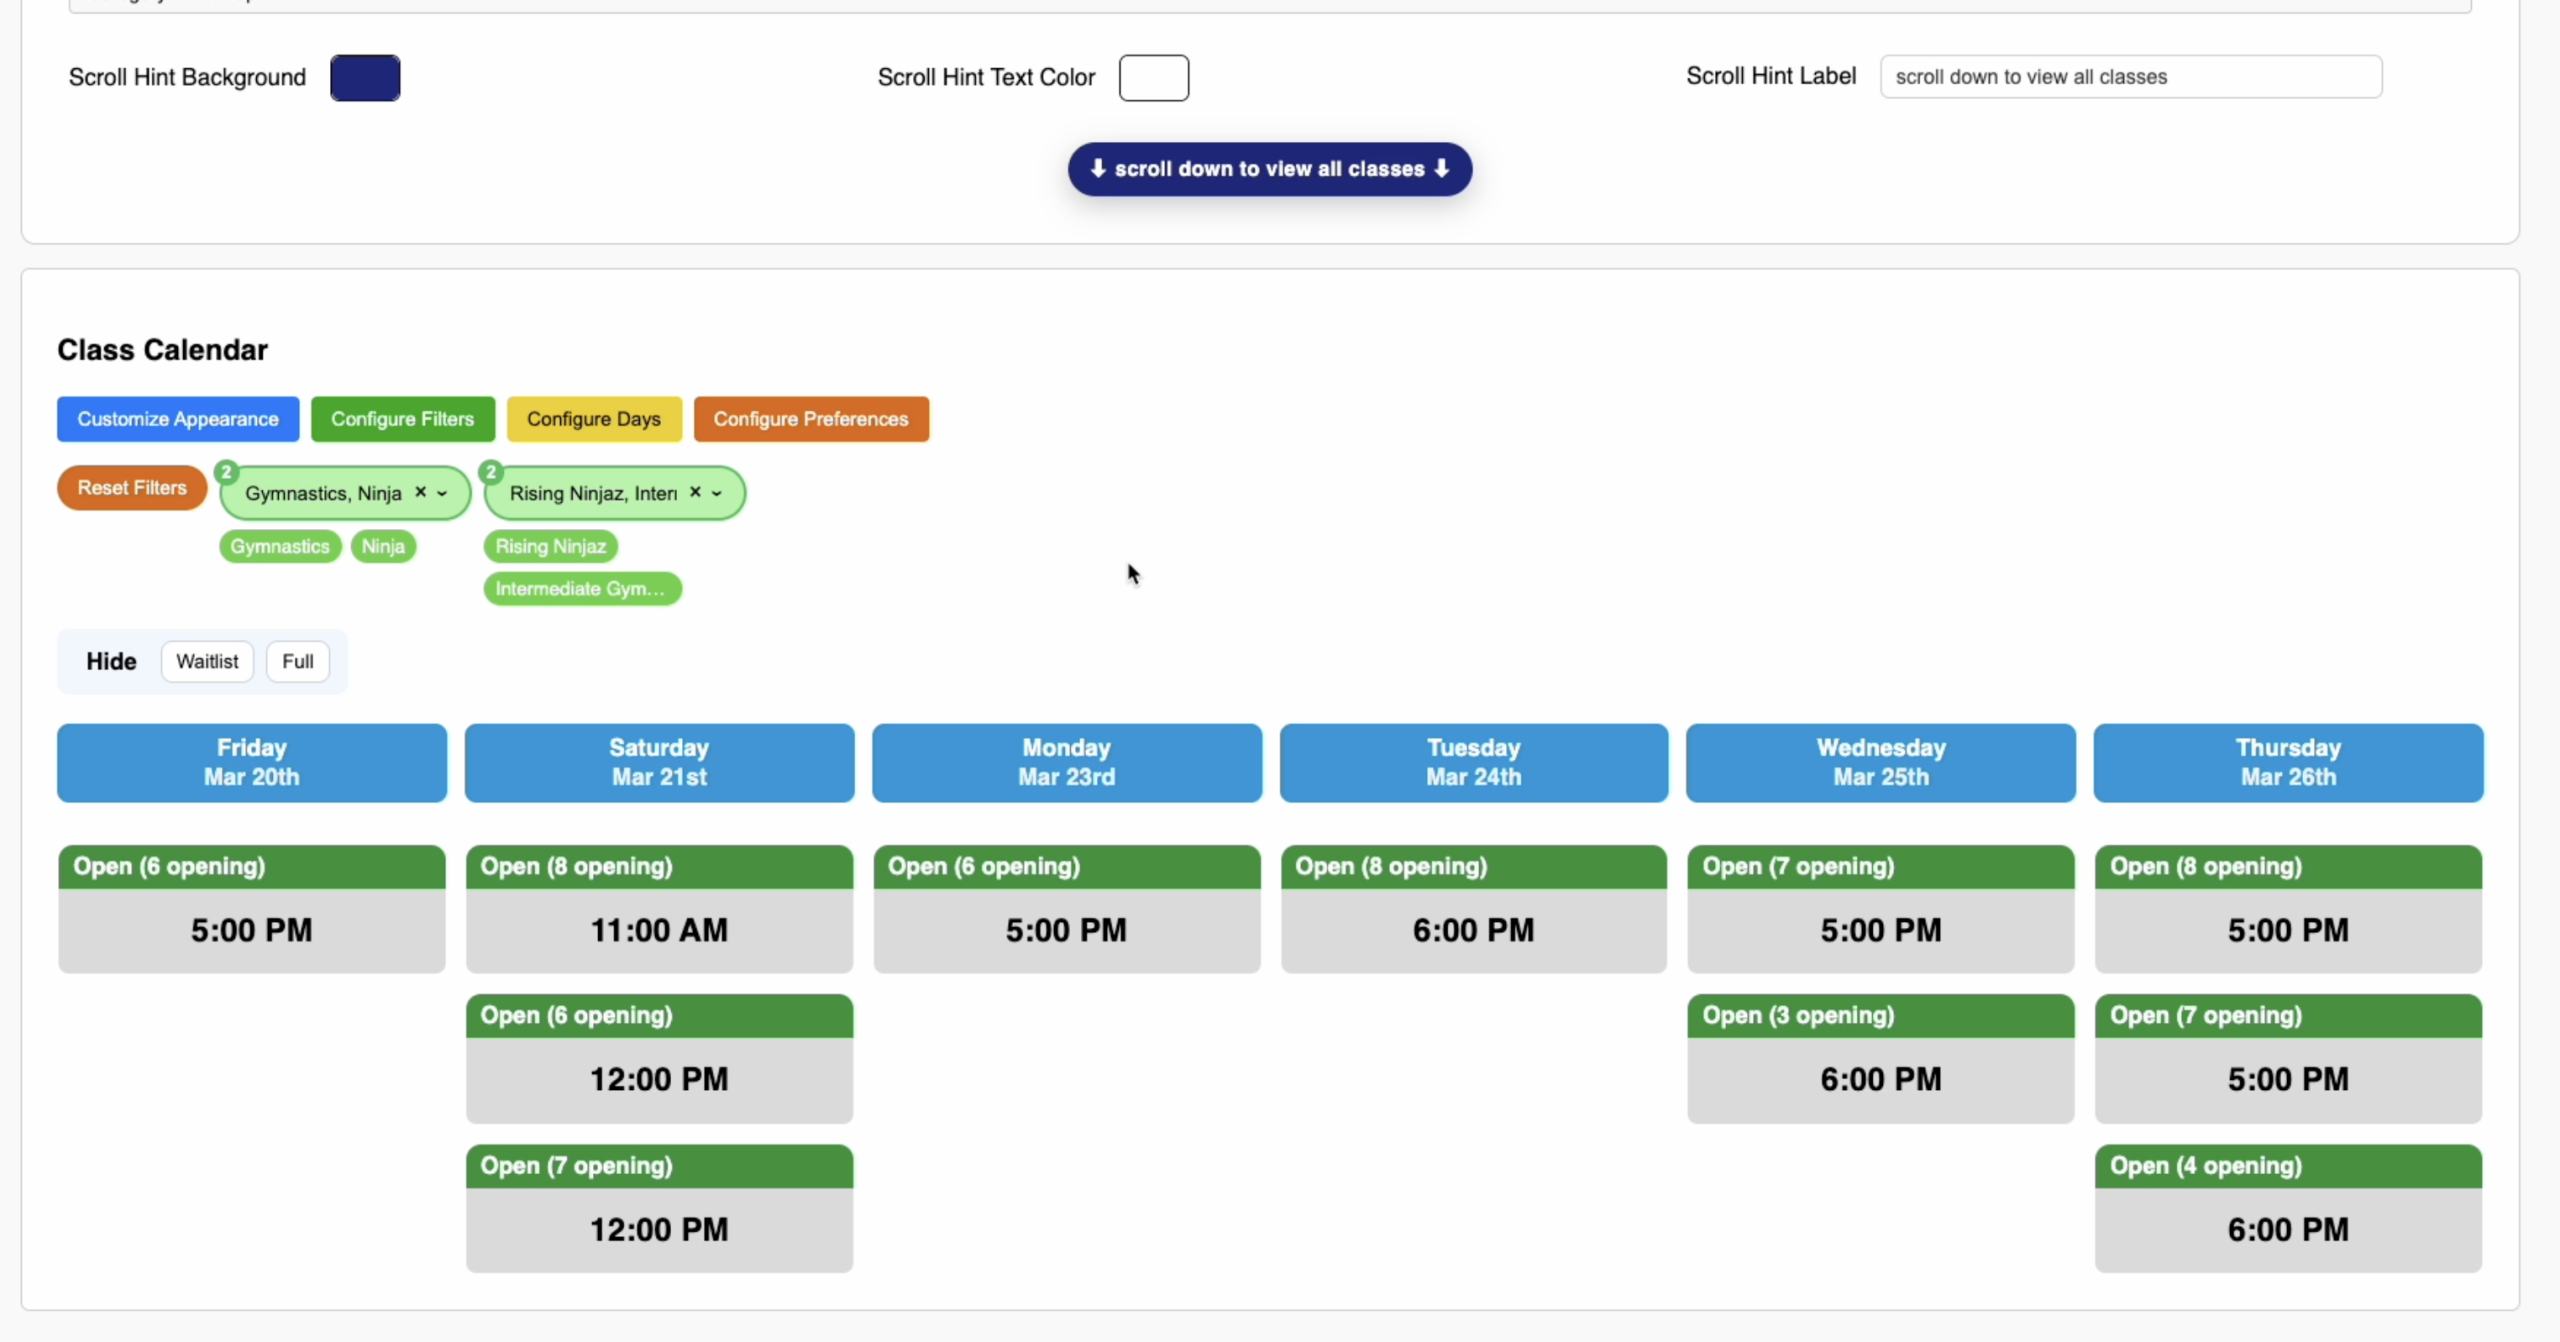
Customize the colors of your calendar
Start by opening the “Customize Appearance” modal and the best way to know what colors control what features starting moving them around and changing the colors and the changes will show up in real time.
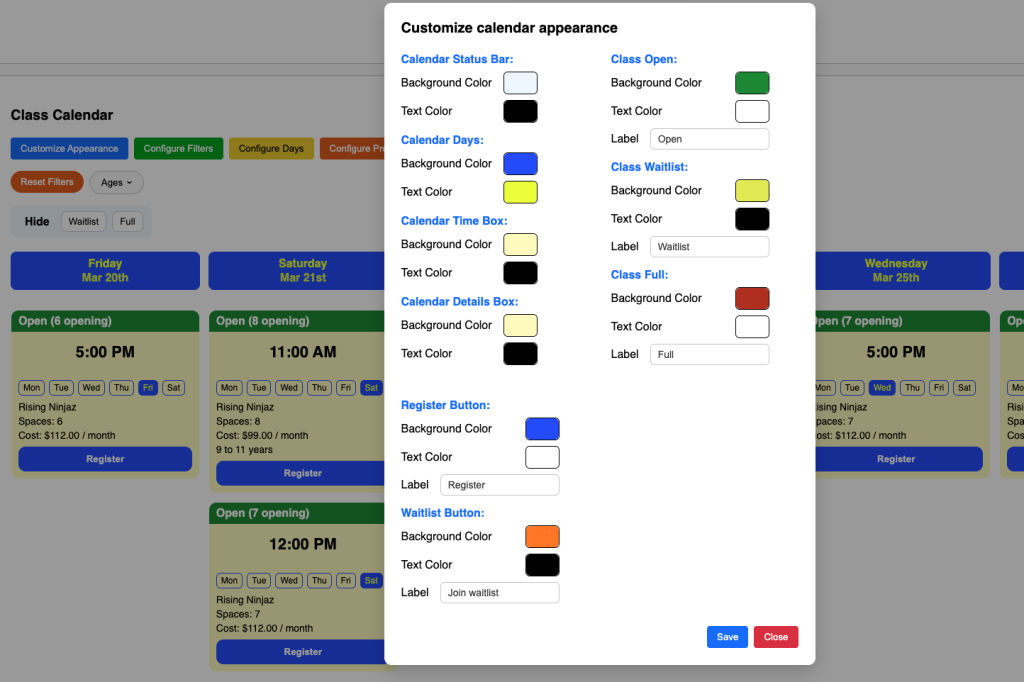
Each Color Picker comes with an Eye Dropper tool which you can utilize to just sample any color you may already have so you don’t need to copy RGB or Hex values.
Customize the functionality or appearance of your calendar
If you want a calendar that ONLY displays lets say a program and a level of that program you can specify that as follows
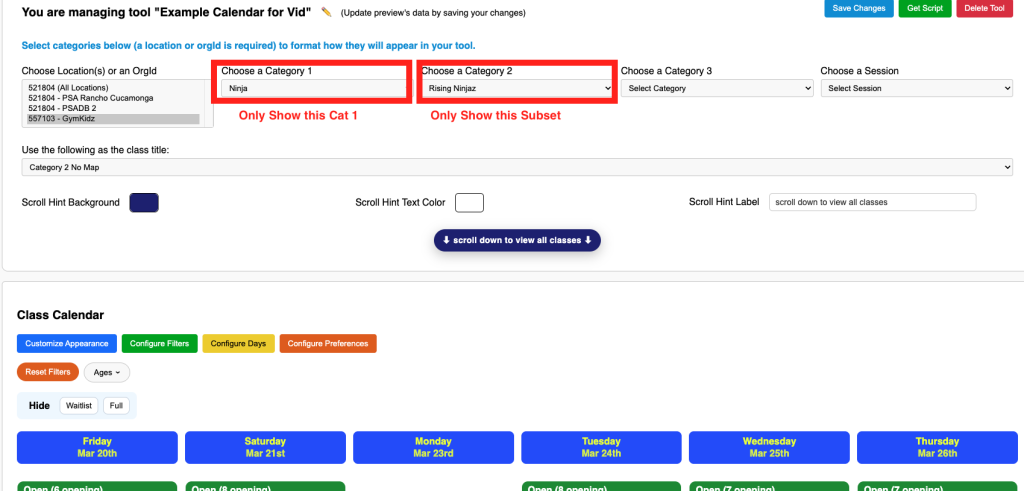
We see a lot of schools that want to list the weekly times of their classes listed with each class as they mention each class on their website. For example their website has a page called ninja and on that page they have 4 ninja class levels and each ninja class level has its very own class calendar with times.
Another option would be to include on that Ninja page every ninja class in a calendar. Then you can choose to include filters and let the parents modify the filters to match their purposes.
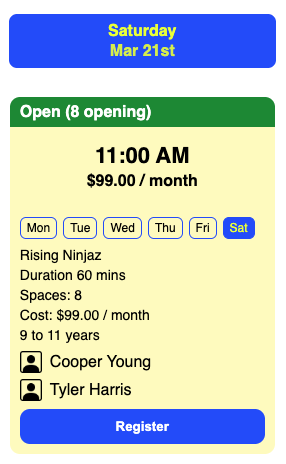
Displaying Details:
Expanded Time Box:
using an expanded time box with the days of the week displayed helps users realize in this tool that a class may meet multiple times out of the week even though they are looking at lets say a class on Tuesday. This would show the user the week with the days highlighted.
You could also choose to JUST show the time on the initial timebox and not share too much info.
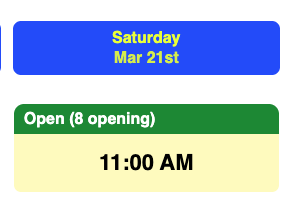
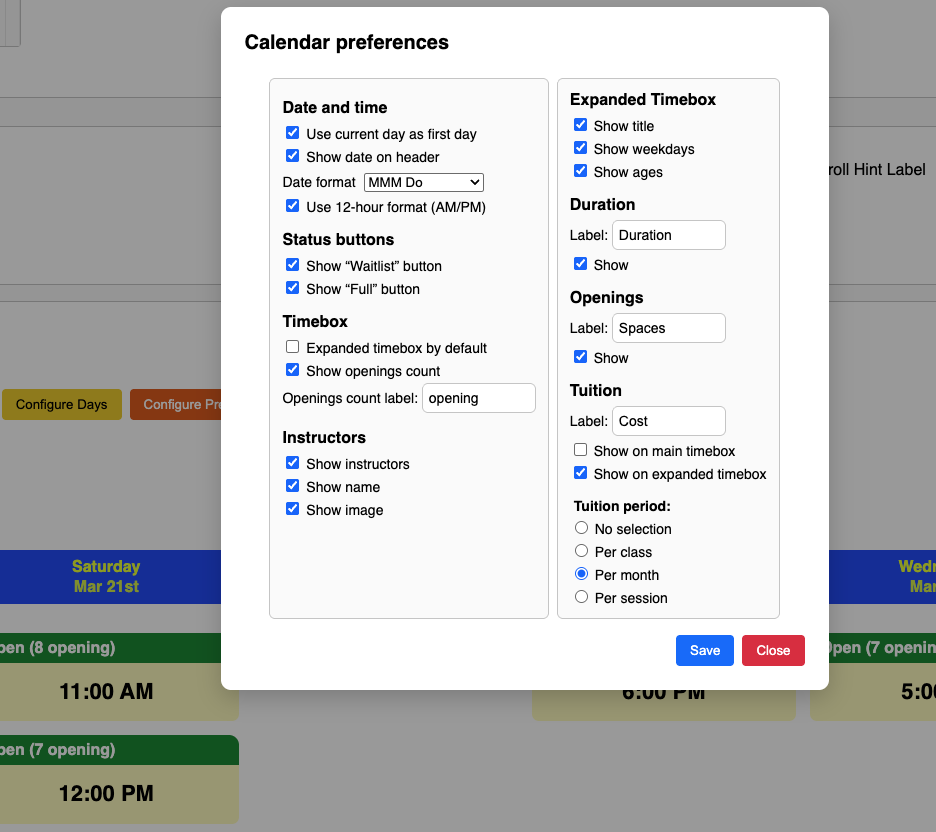
You can modify all these display settings by clicking “Configure Preferences”
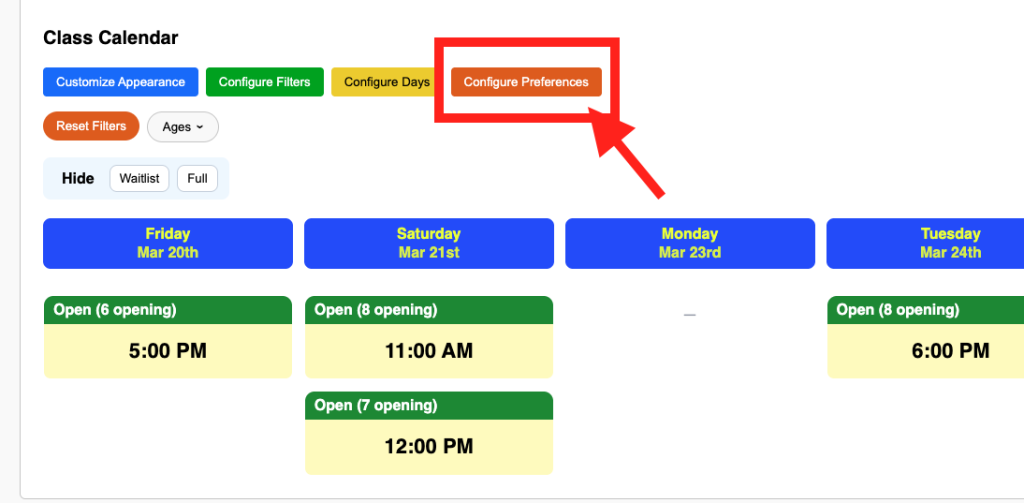
The changes will show up in real time and give you a clear idea on how the various options can benefit your schools enrollment process.