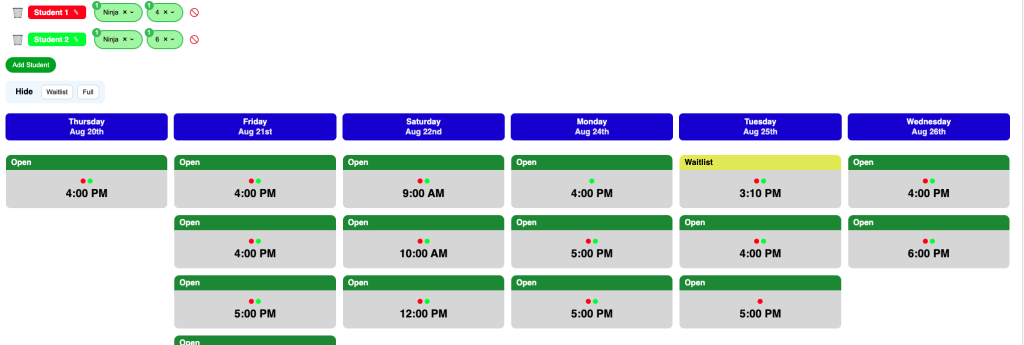
Multi Student Filter
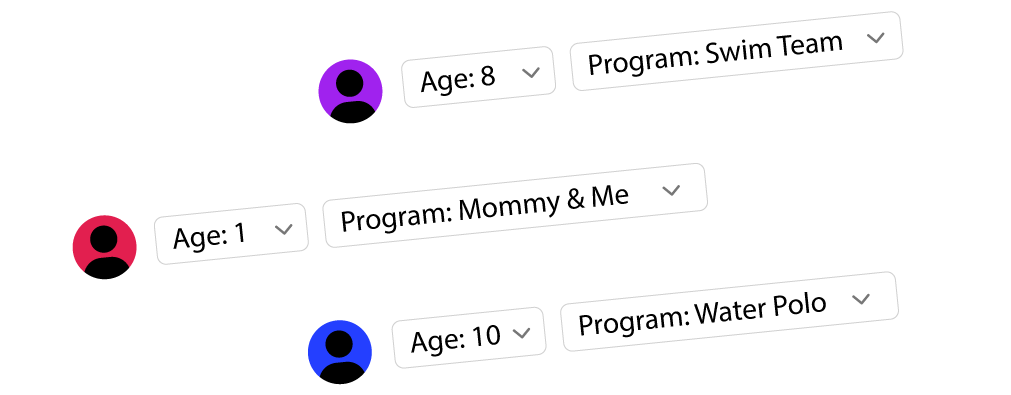
Regular Multi Student
You have the choice to turn on Multi Student Filters in the majority of UAR Tools. This is particularly useful to parents with multiple children. In this doc we will look at how to do that and how to customize it.
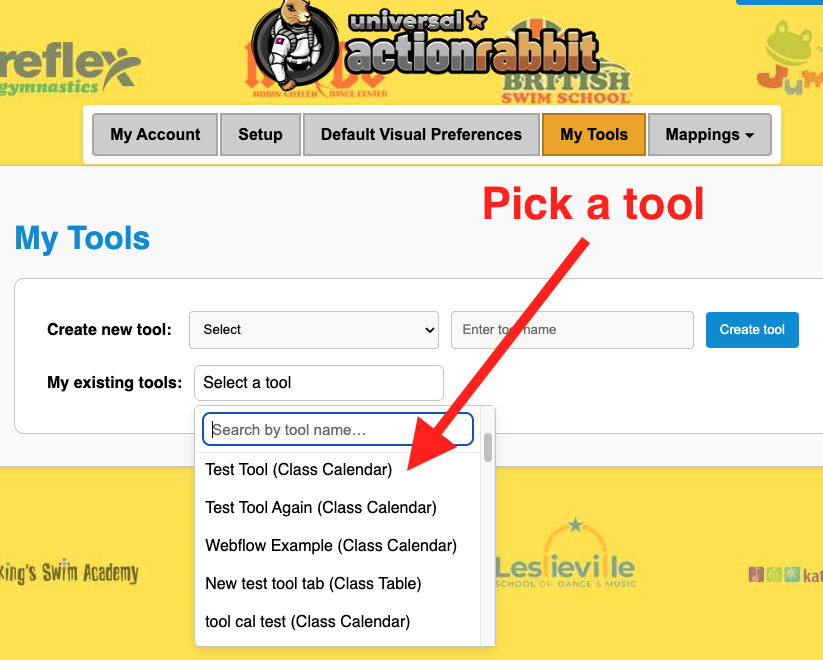
Either Create a New tool or select a tool that you've already created.
Next Click “Configure Filters”
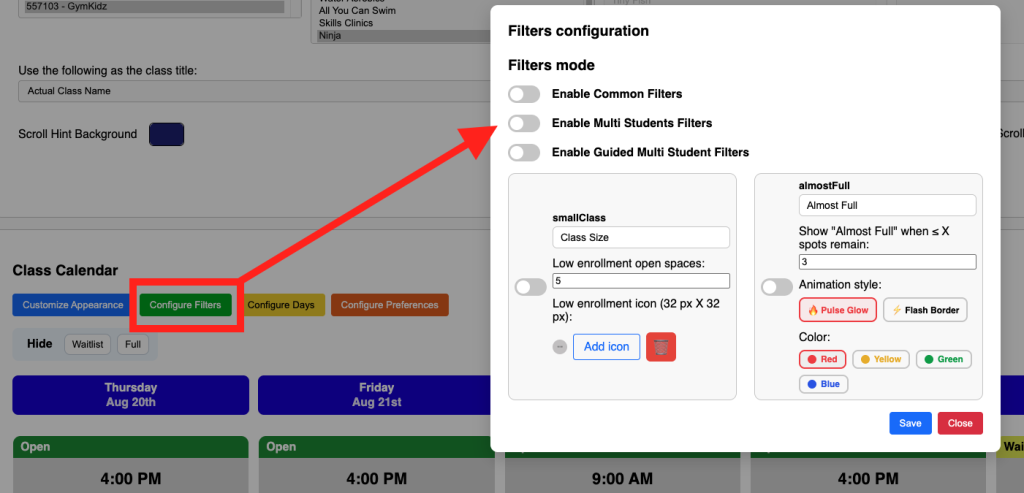
Then Toggle On “Enable Multi Student Filter”
Customizing your filters
Once, you’ve toggled on “Enable Multi Student Filter” you should see the filter show up on your tool.
You will see the following Filter options available to you:
- Locations – if your school has multiple locations and you want them all to be available to your users you can toggle on this option. You can also specify which locations you would like to have available in this filter.
- Category 1 – 3 – These are usually the categories that schools use to segment out their classes to make them understandable. You can choose to change the label Category x to whatever you like such as program, level, team, rec, etc. You can also choose to completely omit a category as a filter and you can choose which categories show up here.
- Days – This is pretty self explanatory.
- Instructors – This is also pretty self explanatory
- Ages – This is also self explanatory
All the above filter options can be excluded based on your preferences.
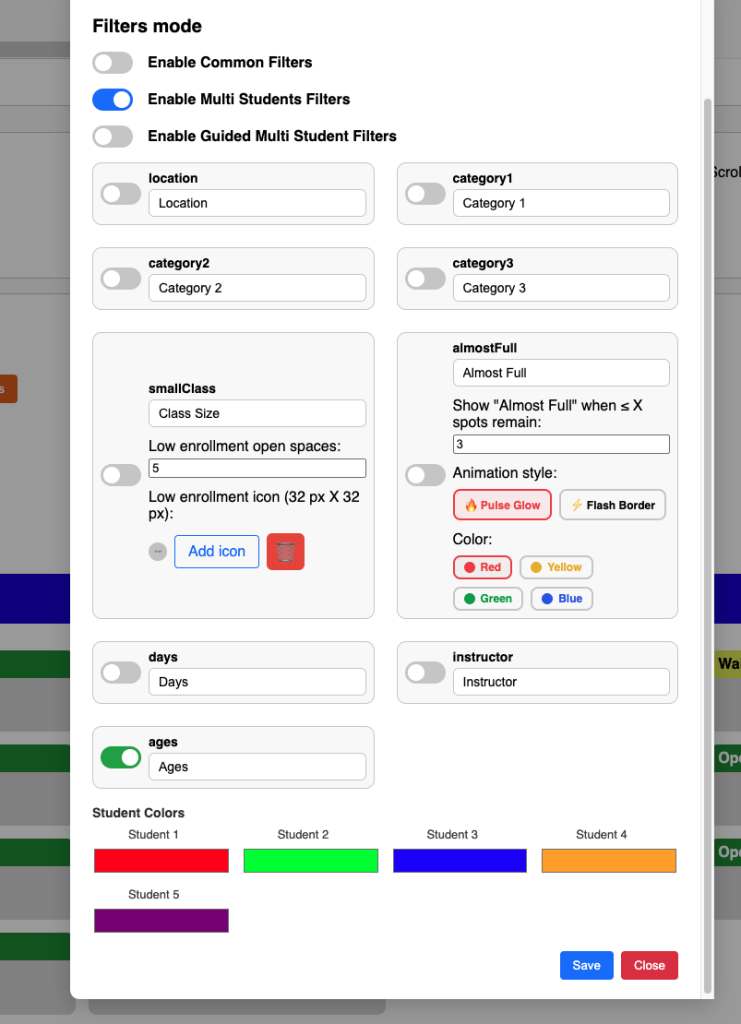
Student Colors
The colors of each student are provided out of the box, however you can customize them by simply clicking the color and adjusting them to be a color you feel fits your website or brand best.
Adding a new student
The result of adding this as a filter is that when a parent / guardian is browsing your schedule they can be provided with another set of results that match the additional student(s). This shows up as a beacon on the class with the color of the student they have added.