Mailchimp Integration
Connecting the Mailchimp API
- Start by logging into mailchimp
- Navigate to your profile
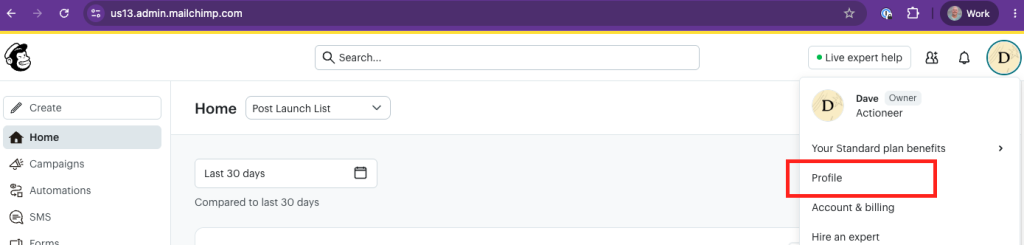
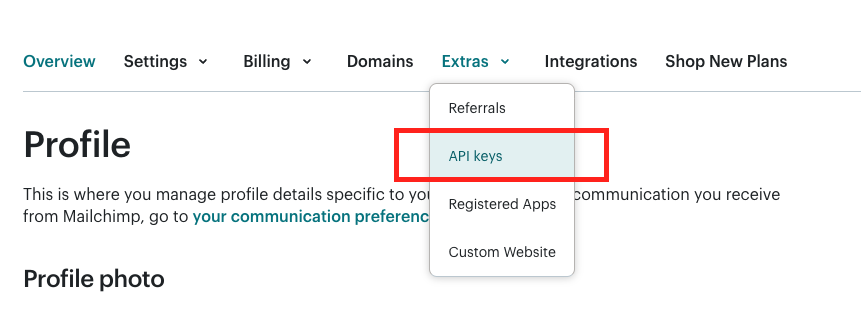
- Select Extras and API Keys
- Add a new api Key and give it a name
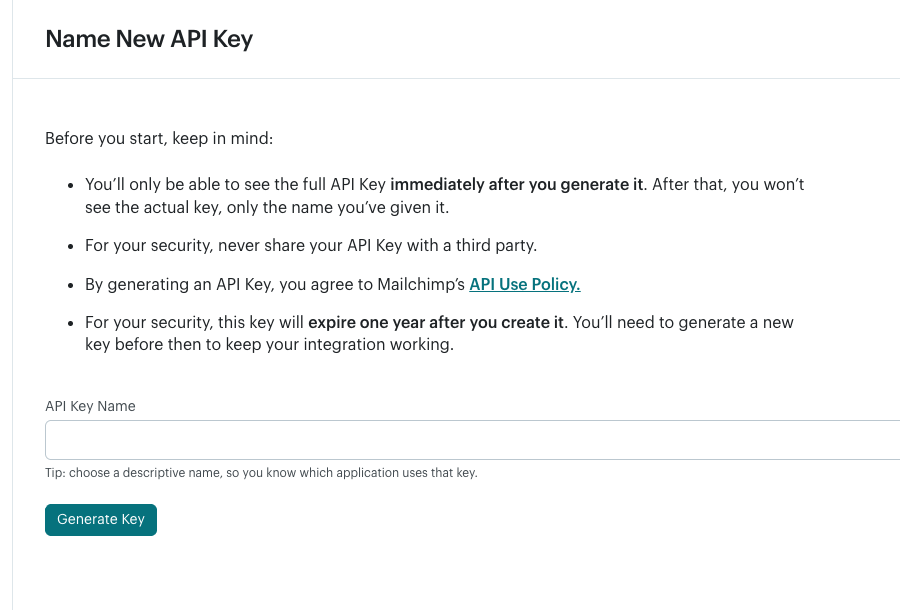
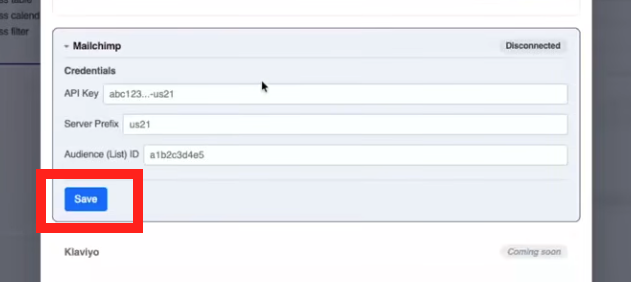
- Copy That API into your Universal Action Rabbit settings
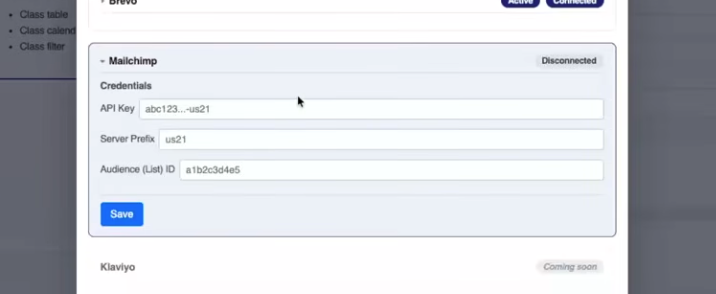
- Add the server prefix by looking at the address bar in your mailchimp account. It should look something like this: https://us20.admin.mailchimp.com/ in this case your server prefix would be us20.
- Then you need to find the audience that you want your schedule builder contacts sync’d to. So navigate to audiences and select one.
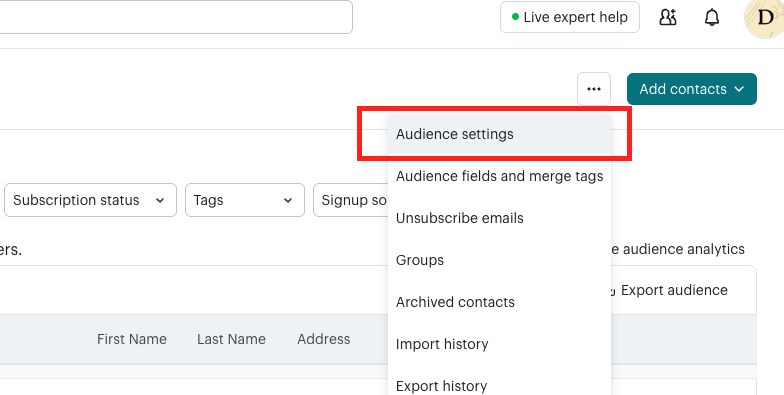
- Once your audience is selected go to Audience Settings
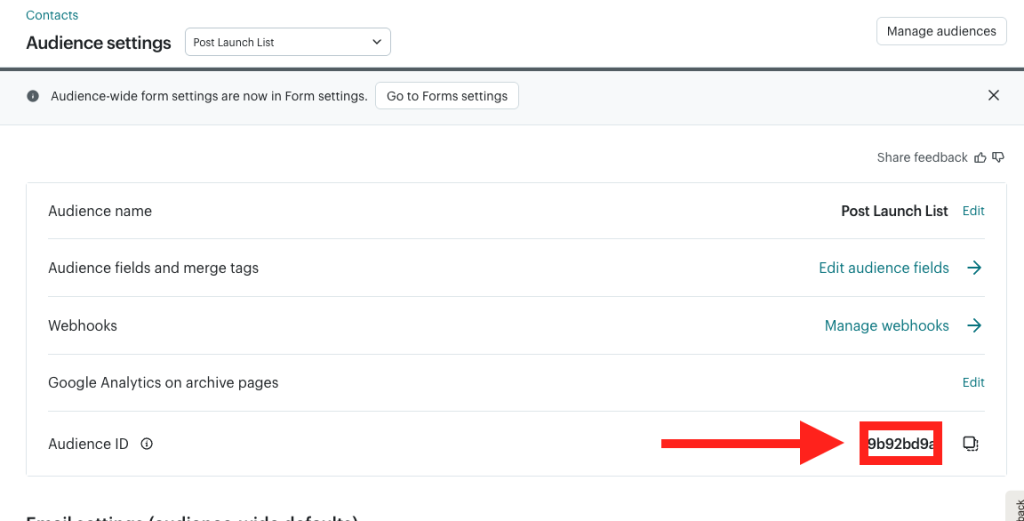
- Then find the ID of the audience and bring it over
- After everything is input into your integration settings click “save”
Specifying which Data to Bring over into Mailchimp
Universal Action Rabbit will gather quite a bit of information about an enrollment.
Parent Guardian:
- First name
- Last name
- Phone
Student Info:
- First name
- Last name
- Birthday
- Gender
- Class Info:
- Class Name
- Class Category 1
- Class Session
- Class Location Code
So the question is where to put this information and how to bring it over. It isn’t required by any means; this is optional.
You have the option to bring your student data over and store it in one Brevo property. Or, you can bring the student data over and store it in an individual student property. The example is
ALL TOGETHER:
Student_info: Student 1 info, Student 2 info, Student 3 info, etc
INDIVIDUALLY:
Student_1: Student 1 Info
Student_2: Student 2 info
Student_3: Student 3 info
Creating Mailchimp segments based on Student info
Creating segments in your mailchimp data allows you to send specific information to contacts who have enrolled in, or have interests in certain classes. Here is how to create segments with your data in Mailchimp.
This allows you to become more specific with your communication and parents, admin offices, and marketers love this ability.